Hi Guys.
Hope you guys doing well.
Last post was about Controllers. And I hope that you guys understood.
Today, You are going to create a simple Application in Webdynpro. :)
Objective: Display the "Hello World".
Yeah, Its right when ever we learn a new technology or language. We create a simple application or program i.e. "Hello World"
I am trying to make it simple as possible as i can.
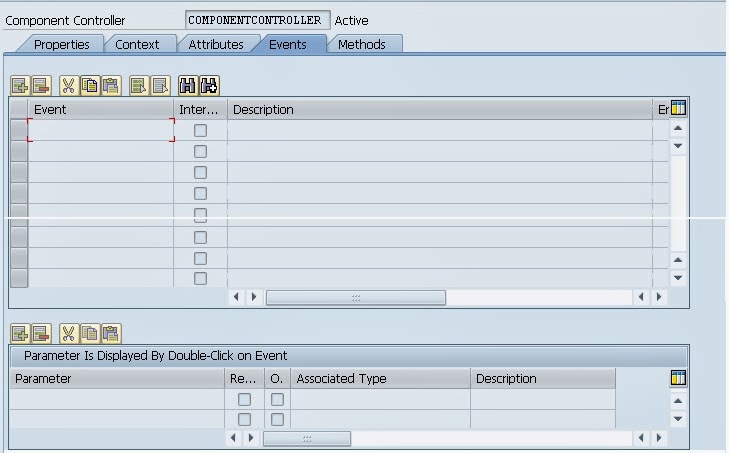
In this application we will use the standard UI element "Text View". ( In coming post you will come to know more about UI elements) to display the text "Hello World" on browser.
So let's start
Step 1. Go to Object Navigator using the TCode SE80.


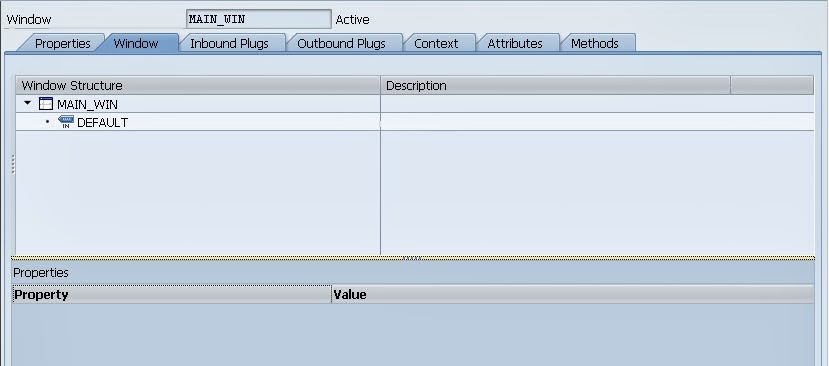
Step 11. Now double click on window "W_MAIN" to make sure that view "V_MAIN" is placed in window or not.
Since In this demo there is only one view so by default it will be placed in window. And you will be see like below fig.

Step 11. Now Save your Component and Activate the Component.
Note: Make you sure that you have selected your component "ZWD_DEMO_1" other wise when you will try to activate then you will get an error message like below.

Step 12. Till now you have create your WebDynpro Component. Now its time create the application since only application will be open in browser.
To create the Application. Right Click on Component then select Create then WebDynpro Application

Step 13. A popup window will be open. Provide the application name and short description and then press the enter key.

Step 14. Then you will be see the your application. Here you will notice that an URL for your application is generated automatically. Now Save your Application in Package or TEMP package as you wish.

Step 15. Now its time for testing the application. To test your application you do in two different manner.

And Finally you will able to see the below output on browser.

Hope you guys able to create your first Component in WebDynpro.
If you want to suggest me then you are most welcome.
Thank You.
Hope you guys doing well.
Last post was about Controllers. And I hope that you guys understood.
Today, You are going to create a simple Application in Webdynpro. :)
Objective: Display the "Hello World".
Yeah, Its right when ever we learn a new technology or language. We create a simple application or program i.e. "Hello World"
I am trying to make it simple as possible as i can.
In this application we will use the standard UI element "Text View". ( In coming post you will come to know more about UI elements) to display the text "Hello World" on browser.
So let's start
Step 1. Go to Object Navigator using the TCode SE80.
Then Object Navigator window will be open.
Step 2. Select the "Web Dynpro Comp./Intf" from the drop down as below fig.
Step 3. Give the Component name as you want. Here I have given ZWD_DEMO_1 and then press the enter key. A message window will be open and click on YES button.
Step 4. The below popup window will open after clicking Yes Button in previous step. In this popup window you will see the like this.
Give the short description. Here by default one Window "ZWD_DEMO_1" and one View "MAIN" will be also generated. If you want to rename then you can as I did below.
And Then press the enter key.
Step 5. Give the package name, where you want to save your component.
Step 6. If you have saved in Package then give the assign the Workbench Request. If you saved in temp folder then you will not ask for Workbench Request.
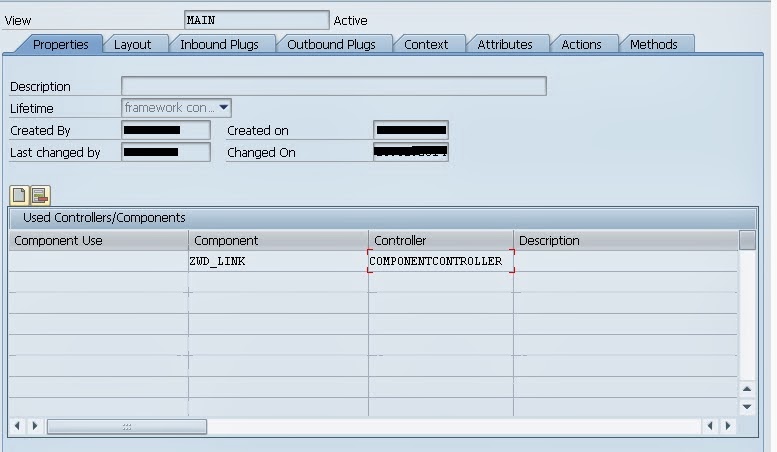
Now You can able to see the your component as below.
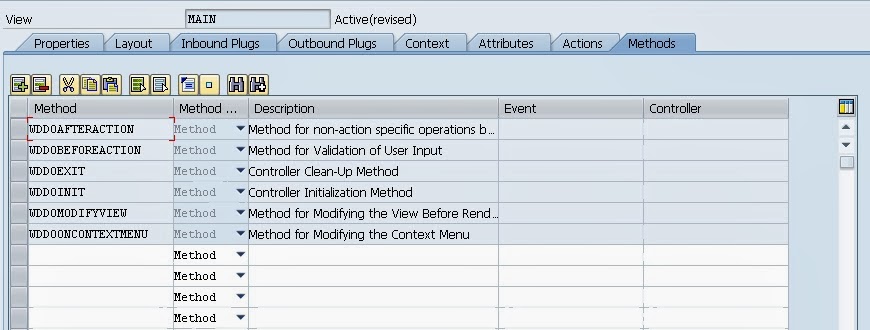
Step 7. Now double click on View "V_MAIN" to go to View. And Then go to Layout Tab of View Controller.
Step 8. Now Right Click on "ROOTUIELEMENTCONTAINER" then select the "INSERT ELEMENT" then one popup window will be open.
Note: Make you sure that you are in edit mode. Other wise you will not able to insert element.
Step 9. Here Select the "TextView" from the drop down from TYP and provide the ID for the TextView UI Element.
Step 10. Provide the mandatory property "text" of TextView UI element as "Hello World" as below. And save the layout.
Then you will able to see the below layout.
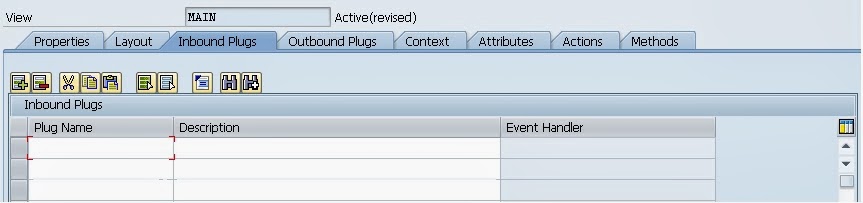
Step 11. Now double click on window "W_MAIN" to make sure that view "V_MAIN" is placed in window or not.
Since In this demo there is only one view so by default it will be placed in window. And you will be see like below fig.
Step 11. Now Save your Component and Activate the Component.
Note: Make you sure that you have selected your component "ZWD_DEMO_1" other wise when you will try to activate then you will get an error message like below.
Step 12. Till now you have create your WebDynpro Component. Now its time create the application since only application will be open in browser.
To create the Application. Right Click on Component then select Create then WebDynpro Application
Step 13. A popup window will be open. Provide the application name and short description and then press the enter key.
Step 14. Then you will be see the your application. Here you will notice that an URL for your application is generated automatically. Now Save your Application in Package or TEMP package as you wish.
Step 15. Now its time for testing the application. To test your application you do in two different manner.
- First Copy the URL which one generated automatically and then go browser and paste the URL. Then you will be able to see your application.
- Or follow the below steps as shown in the fig.
And Finally you will able to see the below output on browser.
Hope you guys able to create your first Component in WebDynpro.
If you want to suggest me then you are most welcome.
Thank You.